For Milestone 2 you had to:
Design and Begin Documentation (Due by class 8)
In milestone 01 you must create developer design documentation using an Excel spreadsheet
and the beginning of the formal design
documentation in a Word docx file. The steps to do
this covered in first 3 modules of this class.
·
Module 1:
An Overview of BI Projects and Solutions (Ch. 1 and 2)
·
Module 2: Planning and Documentation (Ch. 3)
·
Module 3: Designing the Data Warehouse (Ch. 4)
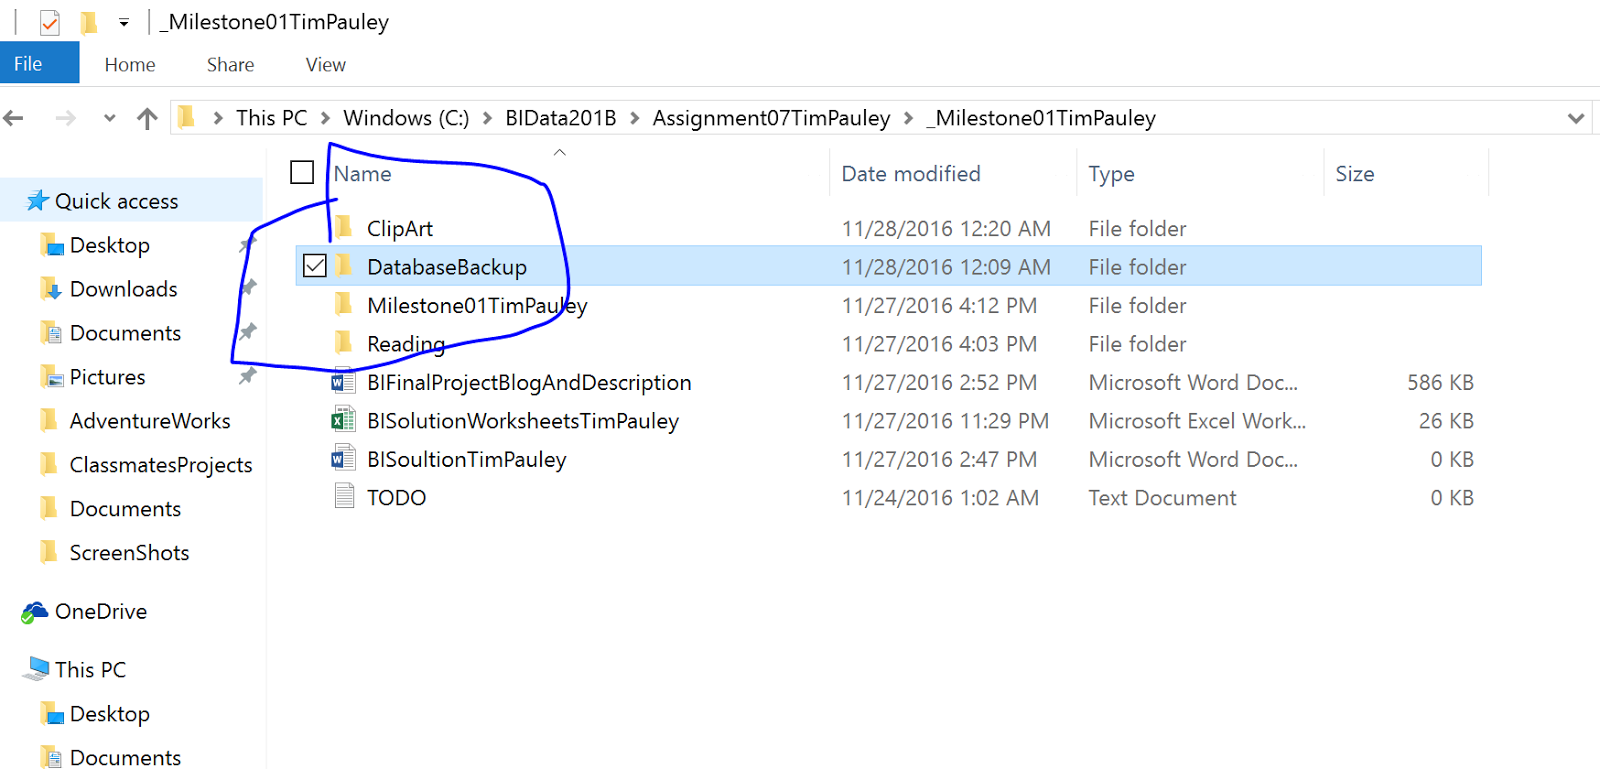
You will need to turn in a Word document, Excel spreadsheet,
and a VS solution; similar to the ones shown here:
To fill in the documents you can do it manually, using the
SSMS Object Explorer, or use SQL Code to help with the process.
Professor Root gave us this script to help fill in the [DataWareshouse] Excel sheet
--******************
Milestone 1 Review *********************--
--
Design and Begin Documentation (Due by class 8)
-- In
milestone 01 you must create developer design documentation using an
-- Excel
spreadsheet and the beginning of the formal design documentation in a
-- Word
docx file. The steps to do this covered in first 3 modules of this class.
--**********************************************************--
-- To
create the documentation you can use SQL's System tables to gather MetaData.
USE
AW_Project01_OLTP_DB;
--
Microsoft has a number of System tables that gives you MetaData you can use for
planning.
-- One
of these is SysObjects.
SELECT * FROM SysObjects;
-- OR
SELECT * FROM Sys.Objects;
-- Get a
list of only the "User" tables, and their Primary and Foreign Keys
SELECT
NAME
,
[Parent object] = iif(parent_obj = 0, 'NA', Object_Name(parent_obj))
--,
*
FROM SysObjects
WHERE
xtype in ('u', 'pk', 'f')
ORDER BY parent_obj;
--
Microsoft has Many MetaData views, here is one just for tables
SELECT * FROM Sys.Tables;
-- Here
is an example that gets the Names of the Columns
SELECT * FROM Sys.all_columns;
--
Notice that the column Data Types referance a lookup ID, system_type_id
SELECT * FROM Sys.types;
-- We
can combine these three to get a custom look at the MetaData overall.
Declare
@DatabaseName nVarchar(100)= 'AW_Project01_OLTP_DB'
Declare
@SchemaName nVarchar(100)= '%%%' -- Defaults to all Schemas
Declare
@TableName nVarchar(100)= '%%%' -- Defaults to all Tables
EXEC('USE ' + @DatabaseName)
SELECT
[Schema Name] = SCHEMA_NAME(T.[schema_id]) ,
[Table Name] = T.name ,
[Column Name] = C.name ,
[DataType] = Ty.Name ,
[DataType Max Length
] = C.max_length
,
[DataType precision]
= Case When C.precision = 0 Then 'NA' Else LTrim(Str(C.precision)) End,
[DataType scale] = Case When C.scale = 0 Then 'NA' Else LTrim(Str(C.scale)) End
FROM sys.tables AS T INNER JOIN sys.columns AS C
ON T.OBJECT_ID = C.OBJECT_ID
INNER JOIN Sys.types AS Ty
ON C.system_type_id = Ty.system_type_id
WHERE C.name LIKE @TableName
AND SCHEMA_NAME(T.[schema_id]) LIKE @SchemaName
ORDER BY [Schema Name],
[Table Name];
--
Because All of these tables are found only in Microsoft SQL Server, you might
want to use
--
something more generic like the ANSI Information Schema Views
SELECT * FROM
[INFORMATION_SCHEMA].[TABLES];
SELECT * FROM
[INFORMATION_SCHEMA].[COLUMNS];
-- Of
course there too can be combined to get a better overall view of the MetaData
SELECT
[ColumnFullName] =
DB_Name() + '.' + C.TABLE_SCHEMA + '.' + C.TABLE_NAME + '.' + COLUMN_NAME
,
DataType = Case
When
DATA_TYPE in ( 'Money', 'Decimal')
Then IsNull(DATA_TYPE,'')
+ ' (' + Cast(NUMERIC_PRECISION as
nvarchar(50))
+ ',' + Cast(NUMERIC_SCALE
as nvarchar(50))
+ ' )'
When
DATA_TYPE in ('bit', 'int', 'tinyint','bigint', 'datetime', 'uniqueidentifier')
Then IsNull(DATA_TYPE,'')
Else IsNull(DATA_TYPE,'') + ' (' + Cast(IsNull(CHARACTER_MAXIMUM_LENGTH,'') as nvarchar(50)) + ')'
End
,
IsNullable = IsNull(IS_NULLABLE,'')
--,
ORDINAL_POSITION
--,
COLUMN_DEFAULT = IsNull(COLUMN_DEFAULT,'')
FROM
[INFORMATION_SCHEMA].[COLUMNS] as C
JOIN
[INFORMATION_SCHEMA].[TABLES] as T
ON C.TABLE_NAME = T.TABLE_NAME
WHERE C.TABLE_SCHEMA in ('dbo') AND C.TABLE_NAME NOT in ('sysdiagrams')
Order by C.TABLE_SCHEMA, C.TABLE_NAME, C.ORDINAL_POSITION
Go
-- NOTE:
There are a number of columns that we need in our design documents
-- and
if we create our SQL code just right it will type a lot of the contents for us!
-- For
example I can use the result of the Previos query to start my BISolution
Worksheet.
'DEMO
COPYING AND PASTING THE RESULTS INTO EXCEL'
Go
-- A few
years ago, Microsoft introduced an undocumented stored procedure (Sproc) that
will allow you to run code using the name of each table in a database.
-- This
is something that we have could do on your own by creating a SQL cursor, but it
is nice to have it written for you!
-- The
stored procedure is named “sp_msforeachtable” and it allows you to submit a
text string for processing as shown here
sp_msforeachtable
@Command1 = 'print "?" ';
Go
-- Note
that a question mark in double quotes is used as a placeholder which will be
replaced with each table’s name when the Sproc is called.
-- For
example, if there is a table named dbo.store in the database, this Sproc
executes the following code:
print '[dbo].[stores]';
Go
-- It
does this for each user table if finds in the current database, but not system
tables.
--
Speaking of system tables, you can use this Sproc to get meta data about your
user tables easily. Here is an example:
sp_msforeachtable
@Command1 = 'Select
Object_Name(object_id), * From Sys.Columns Where Object_ID =
Object_ID("?")';
Go
-- You
can also use Microsoft’s stored procedures, like sp_help, with each table as
follows:
sp_msforeachtable
@Command1 = 'sp_help
[?]';
--
Notice that sp_help is called for each table in the database and that I am
using square brackets instead of a double quote.
-- This
make this command evaluate as an object and not just a string, which can be
important sometimes, though in this case it doesn’t matter.
Go
-- We
create our own Sproc and pass in the table name as an argument value.
-- This
next example uses the TSQL Exec command run a string of text characters as if
it were a typed-out SQL statement.
Create Proc pSelTop2
(@TableName
as nVarchar(100))
AS
Begin
Select
[TableName] = @TableName;
Declare
@SQLCode nvarchar(100)= ' Select Top 2 * from ' +
@TableName
Exec(@SQLCode)
End
;
Go
-- Now I
can use Microsoft’s stored procedure to execute my stored procedure like this:
sp_msforeachtable
@Command1 = 'exec
pSelTop2 "?" ';
Go
'DEMO
COPYING AND PASTING THE RESULTS INTO EXCEL'
Go
-- Each
version of Microsoft SQL server comes with several new functions and Sprocs. In
2010, this included not only sp_msforeachtable,
-- but a
similar stored procedure that loops through each database on the server.
sp_msforeachdb
@Command1 = 'sp_helpDB
[?]';
Go
-- Keep
in mind that both are considered non-supported code. Relying on these in a
production database may cause trouble
-- if
one of Microsoft service pack changes the code. If you are consernd about this,
remember that you can always create
-- your
own stored procedure using Microsoft’s code, which can be displayed using
sp_HelpText.
sp_helptext
[sp_msforeachtable];
Go